
GitHub Web Interface
GitHub is a web-based platform for storing code, managing versions, and even hosting websites (via GitHub Pages).
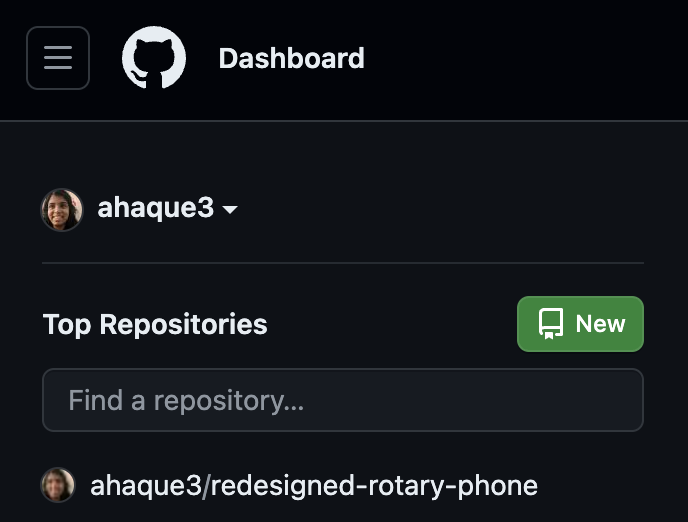
Activate your free GitHub Account (using your NC State Gmail account) through github.ncsu.edu. Then log in to see your existing repos and recent activity.
To create a new repo, click “New”.
- Once clicked, you should be redirected to a new page to create a new repository
- From the “Choose an owner” dropdown, choose your unityID as owner
-
- Name your repository (required) and add a description (optional, but recommended for public repos).
-
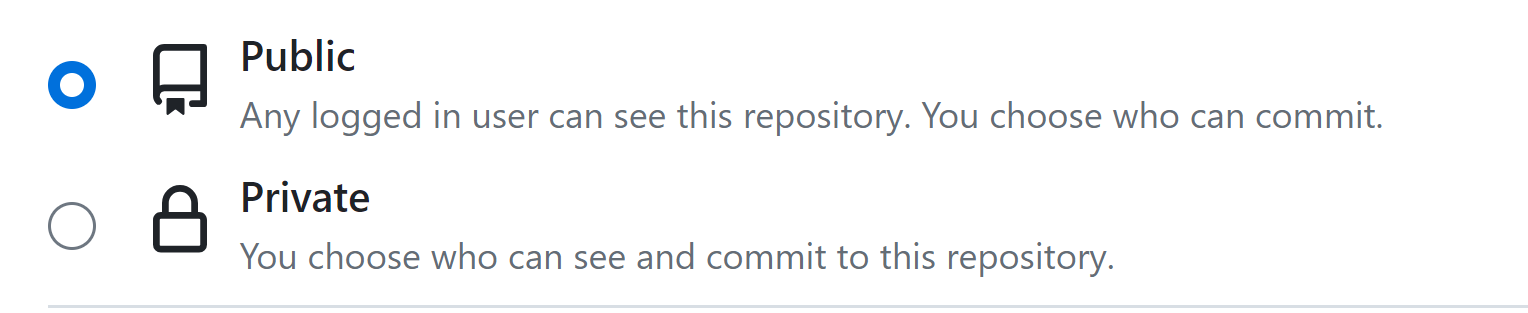
- Choose public or private visibility. Making a repository private means that it is hidden to anyone that you do not explicitly give access to.
- Select “Add a README file” unless you’re importing an existing project.
- For now, we’ll skip having you include a
.gitignoreand License. - Click on “Create Repository” at the end of the page.


Once you click the “Create Repository” button, you will see the following screen:
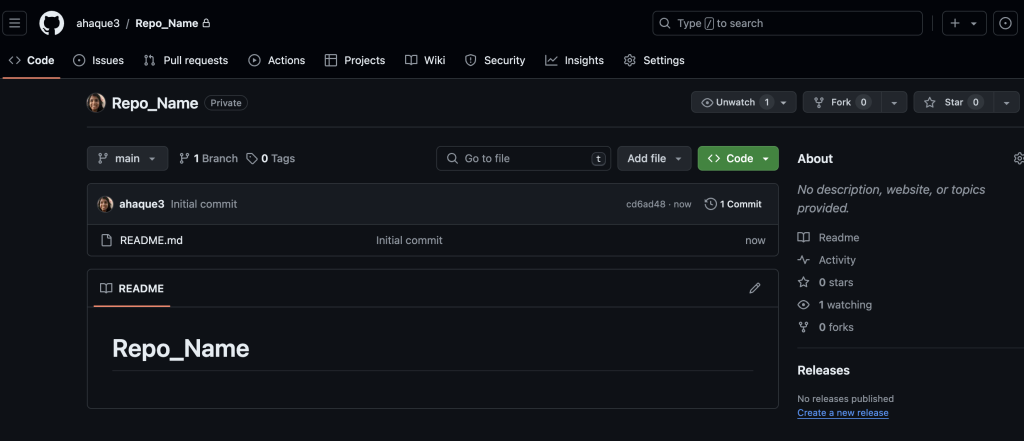
Once created, your repo allows you to:
- Upload files
- Create new files
- Clone or download the repo for local edits
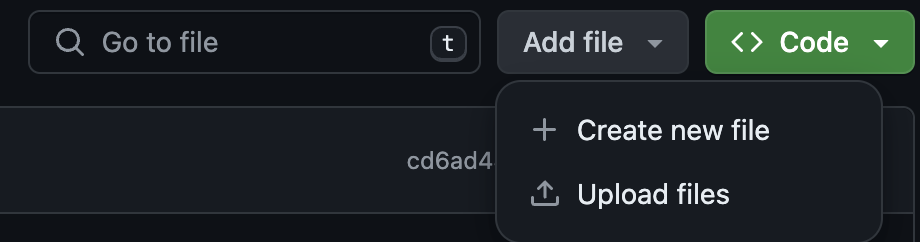
If you choose to “Create new file”, you will see the following screen:

Create your file, name it (with an extension if needed), and then you can commit it by clicking the green “Commit changes” button, which pops up this window:
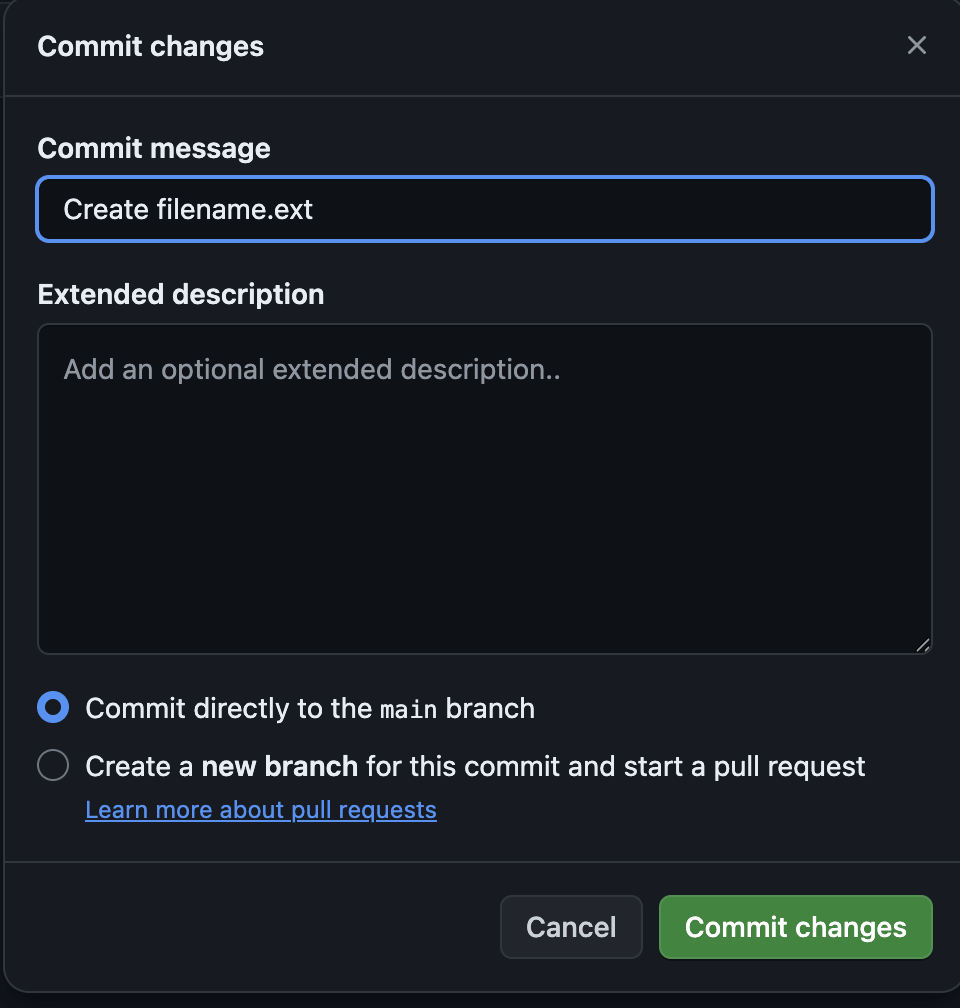
When creating a file:
- Add a commit message describing your changes. This message is a description about what updates were made to the file since the last time it was edited. You can also include an extended description.
- Click “Commit changes” to create/update the file on GitHub! 1
You may keep the file blank to create it, in case you just need the file in the repo.
For Webpages
Video Walkthrough of setting up GitHub Webpages→
Here, we’ll specify instructions for using your GitHub repo to host a webpage. Please create a new repo using the instructions above. For this class, we have you name it webpages.
- Choose the “public” option between public and private
- Check the option “Add a README file”
- Lastly click on “Create Repository”
 at the end of the page.
- Once clicked,
- Your repository should be created
- You will be directed to your newly created repository named “webpages”

- Click on “Settings”
- Under “Code and automation” you should see “Pages”, click on “Pages”
- Under “branch”, click on the “None” dropdown, and select “main”, hit “Save” afterwards.

- Refresh the page after a few seconds, and you should see,
"Your site is live at https://pages.github.ncsu.edu/unityID/webpages/"on top of the page
- Click the “Code” tab
- For any file you want to add to your webpage, click “Upload file” and choose the file to upload, saving will make the page immediately visible.
- You must have a file called “index.html” on your webpage, even if it is blank, or the webpages will display the readme instead of your webpage
Once these steps have been completed, your webpage will be viewable at the following URL:
https://pages.github.ncsu.edu/unityID/webpages/filename.html
- Where unityID is replaced with your unityID
- Where webpages is the name of the repository
- Where filename.html is the name of your HTML file
- Please note all items are case sensitive.